A couple of years ago, I wrote a blog article about setting up Monit monitoring on an Ubuntu VM on Hyper-V. Now it's time to do the same, but then in Windows Subsystem for Linux, or WSL. So, without further ado, here is how to install and configure Monit monitoring in Windows 10 WSL.
Why Windows 10 WSL? Because not everyone has that extra spare system available. :) And starting in Windows Insiders Build 17046, WSL supports background tasks, including daemons (source: Background Task Support in WSL). Monit is a small Open Source utility for managing and monitoring Unix systems. Monit conducts automatic maintenance and repair and can execute meaningful causal actions in error situations.
Installing WSL 2 in Windows 11 / Windows 10
Before you start, you first must have WSL installed on your computer. As explained in Microsoft's Windows Subsystem for Linux Installation Guide for Windows 10, this is quite easy.
First open up PowerShell as Administrator and run systeminfo | Select-String "^OS Name","^OS Version" to verify your Windows system build is supported. Next, enable the optional feature:
Enable-WindowsOptionalFeature -Online -FeatureName Microsoft-Windows-Subsystem-Linux
and restart your computer when prompted.
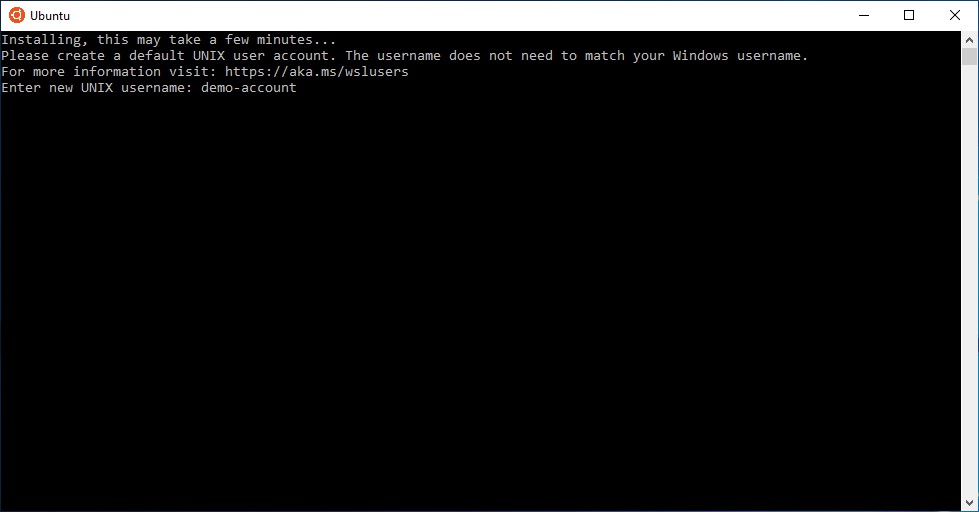
And third, after the reboot is completed: browse the Windows Store and download the Linux flavor of your choice. I chose Ubuntu. And finalize the installation by starting it, it'll let you create an user.

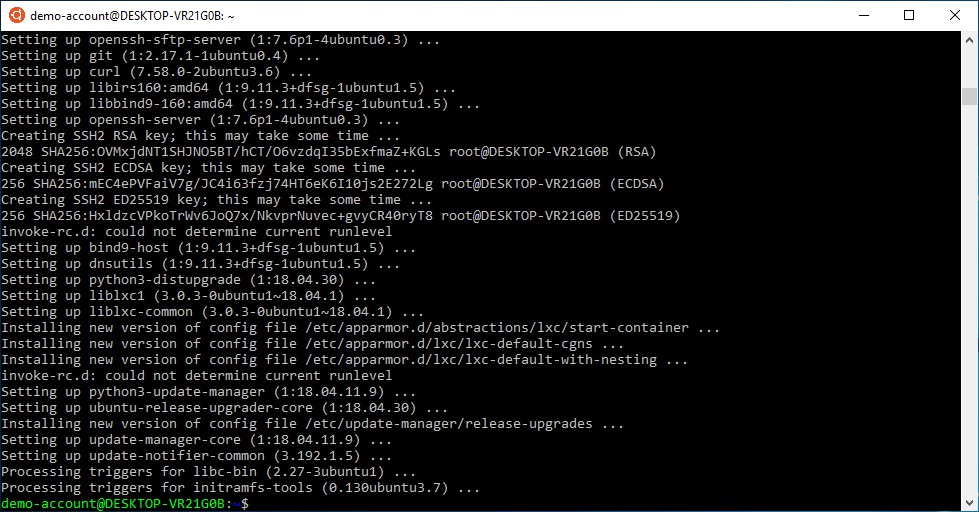
Next, run sudo apt-get updateand sudo apt-get upgrade to update your Ubuntu. After this we're almost ready to start setting up Monit as a monitoring service. Because the point of this tutorial is to set up a remote monitoring of websites and services service. Yay!

For the rest of this blog post, I'll try to redo all my previous steps with Monit, but now from within Windows Subsystem for Linux.
Install Monit in WSL 2 Ubuntu
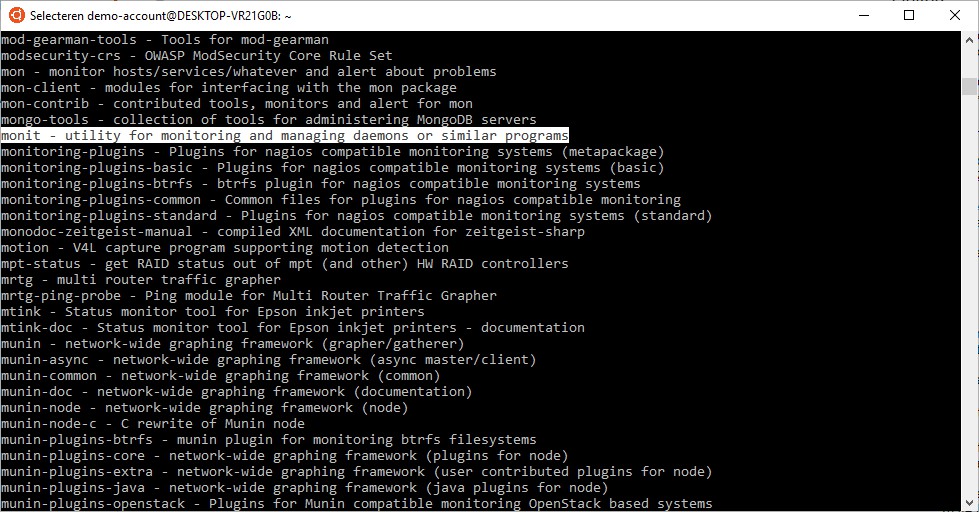
According to apt-cache search monit, we can just run apt-get install monit:

apt-cache search monit lists "monit - utility for monitoring and managing daemons or similar programs". And voilà, it's easily installed. I left monit's configuration file default, I didn't want to start messing with settings just yet.
Configure Monit to monitor a remote website
I have a couple of website URL's: www.saotn.org, www.itfaq.nl, www.vanilla-wp.org and www.reilink.nl. Let's say I want to monitor them all. Add a configuration file in /etc/monit/conf.d:
sudo vi /etc/monit/conf.d/saotn-org-external
To monitor ICMP response and HTTP connectivity, I add to my configuration file:
check host www.saotn.org with address www.saotn.org
  if failed icmp type echo
    for 5 times within 5 cycles
  then alert

  # HTTP check
  if failed
    port 80 protocol http
    for 5 times within 5 cycles
  then alert
Do this for all websites:
demo-account@DESKTOP-VR21G0B:/etc/monit/conf.d$ ls -la
total 0
drwxr-xr-x 1 root root 512 Mar  9 15:16 .
drwxr-xr-x 1 root root 512 Mar  9 15:12 ..
-rw-r--r-- 1 root root 219 Mar  9 15:16 itfaq-nl-external
-rw-r--r-- 1 root root 223 Mar  9 15:15 reilink-nl-external
-rw-r--r-- 1 root root 221 Mar  9 15:14 saotn-org-external
-rw-r--r-- 1 root root 231 Mar  9 15:16 vanilla-wp-org-external
To check the monitoring status, open up /etc/monit/monitrc and uncomment the following lines:
set httpd port 2812 and
  use address localhost
  allow localhost
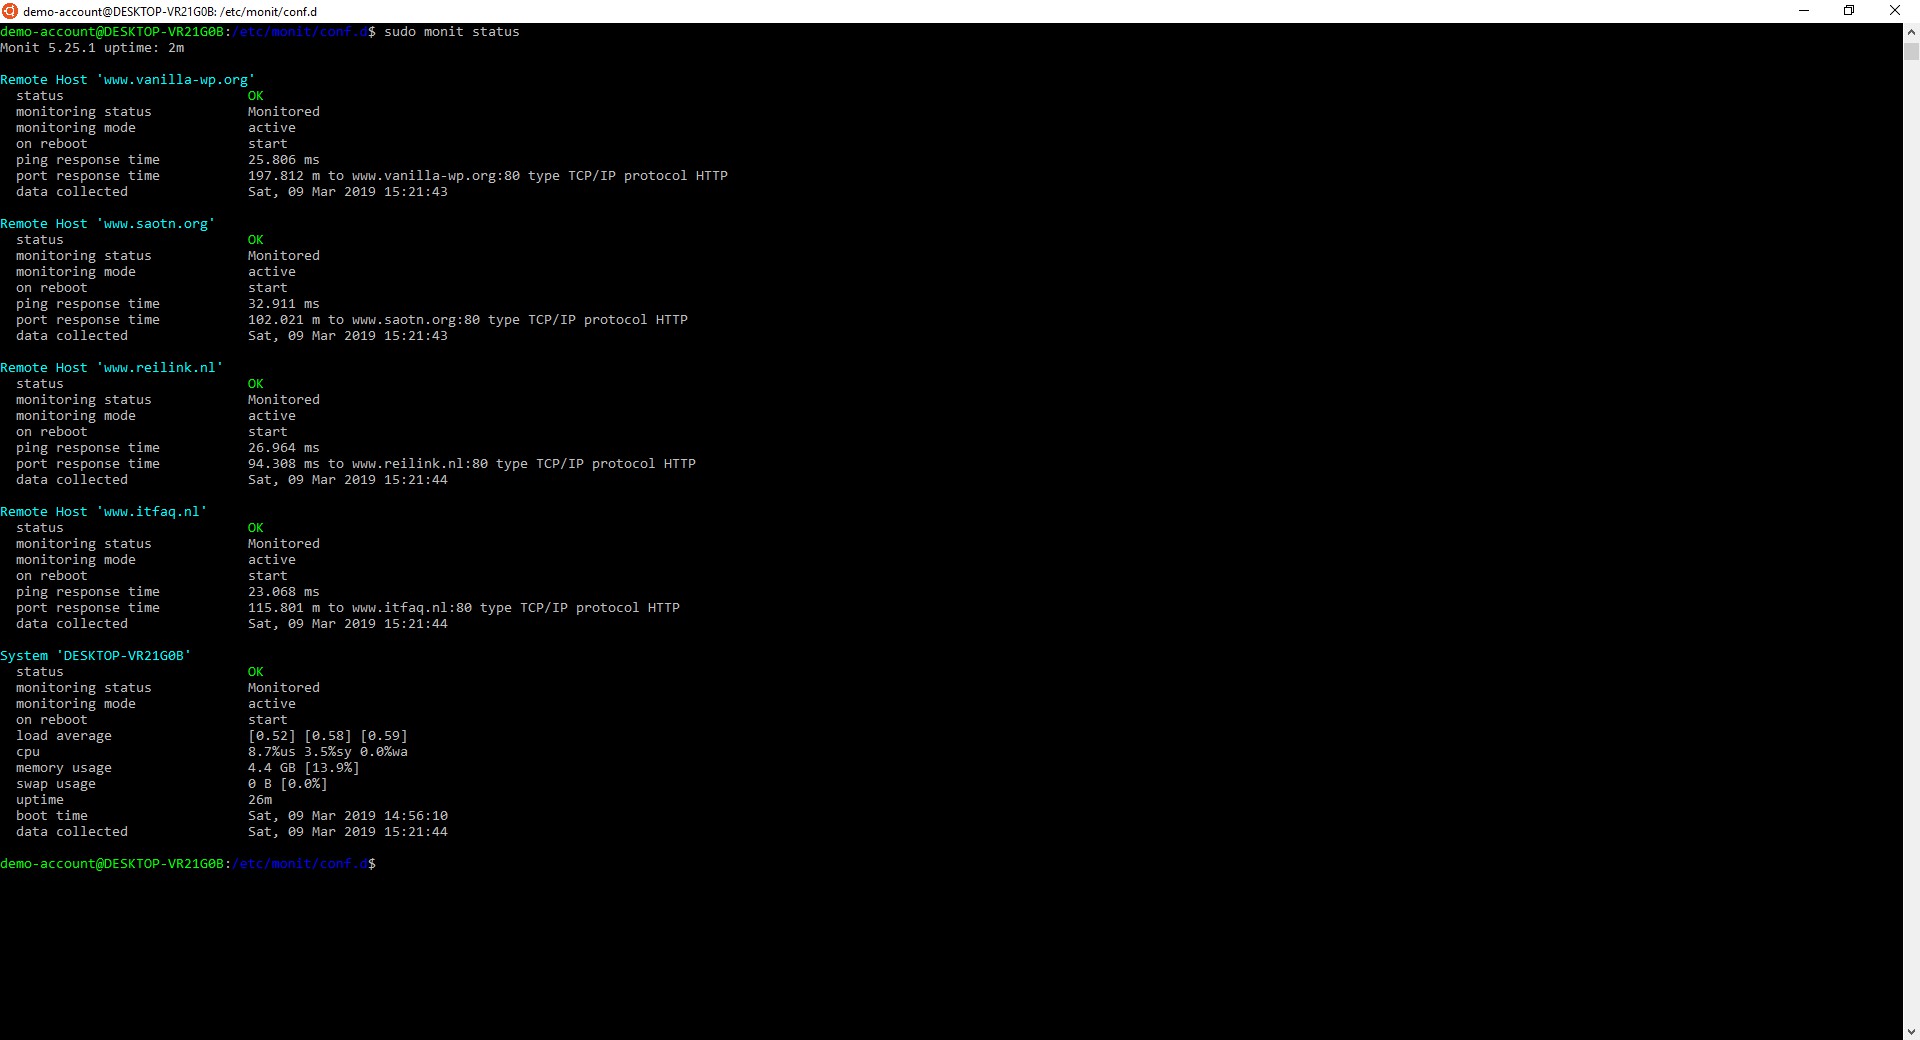
This enables the built-in web server locally. Then restart Monit: sudo service monit restart. After a while you can run sudo monit statusto retrieve the monitoring status and statistics:

By default, Monit checks a server every 120 seconds. You can alter this to any interval of time required in the config file /etc/monit.conf.
Check a URL with valid HTTPS certificate
If you want to check an HTTPS URL, you can do this easily in Monit too. You can add to your existing check host site-conf file:
  if failed
    port 443 protocol https
and restart Monit: sudo service restart monit.
In a next post I'll add some checking for services like DNS and SMTP. I hope you enjoyed this post, let me know in the comments, thanks!